|
|
|
|
|
|
 |
|
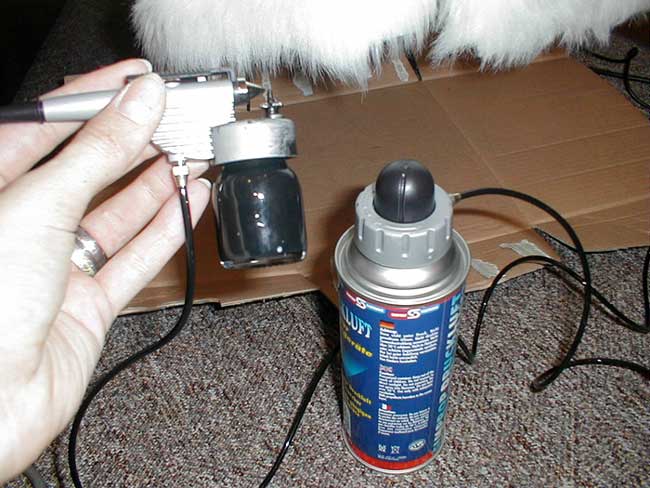
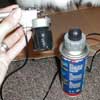
As I had no experiences with airbrush, I bought a cheap airbrush pistol at a toy store (where they do sell model railways) ŕ 16 EUR and compressed air (it was a starter kit).
The color is an extra fine pigmented acryl color for airbrush, named "Aerocolor" by Schmincke (about 5 EUR / glass). |
|
 |
|
 |
|
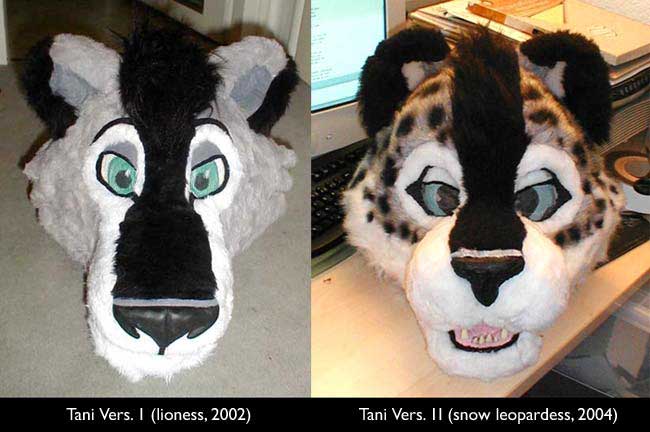
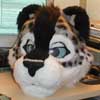
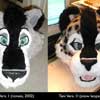
Tabalon helped me to find out which color is the best for that use. This color - of course - is also not 100% water resistant (so you can't wash the suit), but the spots won't bleed or rub off when it gets a little wet.
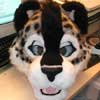
The photo on the right side shows an comparison between the old and the new suit head. Don't like the old one any more... |
|
 |
|
 |
|
The paint is veeeeery hard to remove that paint from the carpet again!! So be careful. With a better, more expensive airbrush pistol you would be able to make finer spots of course, but for this use, the cheap pistol was quite okay. So I just sprayed the spots on the fur (I also had no idea of it, I just tried it!). I needed 1 glass of the airbrush paint and 1-2 cans of the compressed air. |
|
 |
|
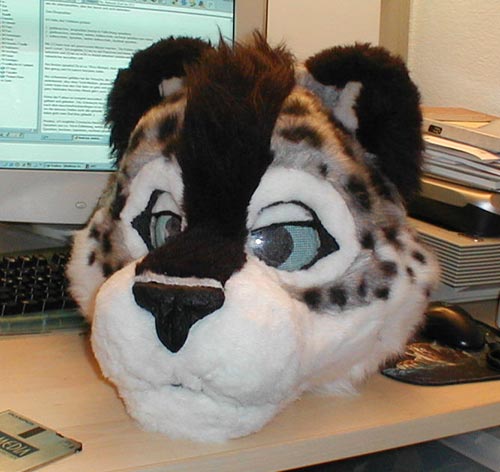
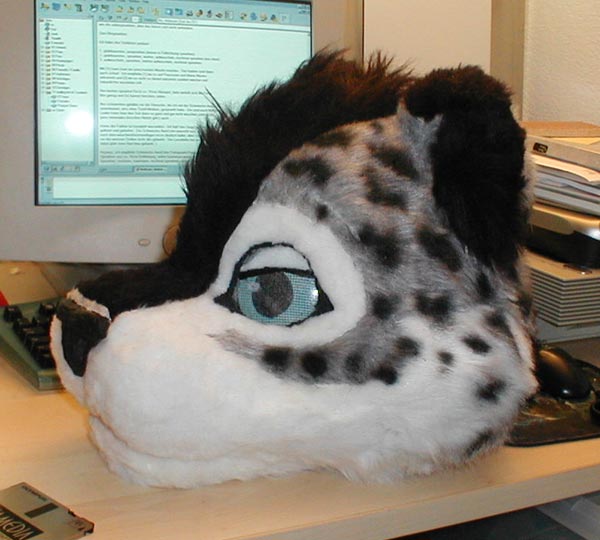
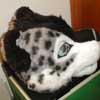
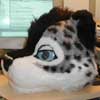
I also sprayed spots on the white fur, which made the suit look much more natural. That paint also doesn't mat the fur too much. If you brush it too much, the color will fade of course. But the airbrushed fur is still quite soft. |
|
 |
|
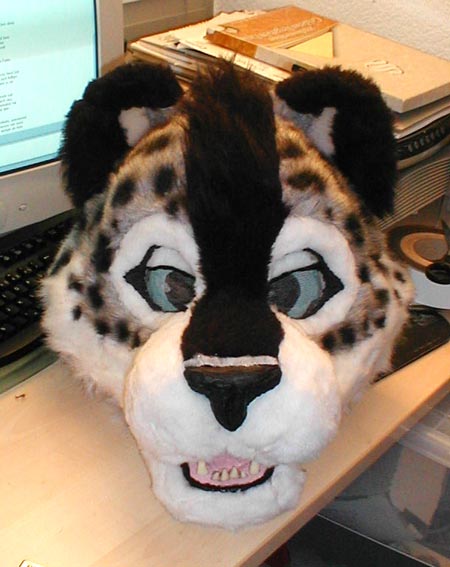
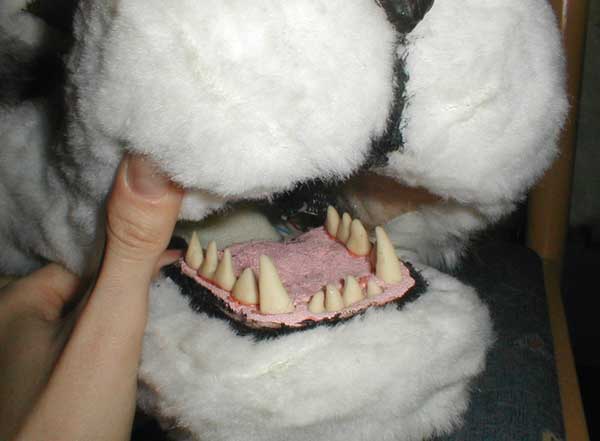
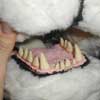
Here you can see the teeth (FIMO) and the black latex lines (muzzle, lips). The tongue is just a piece of foam painted with pink latex milk (several layers). |
|
 |
|
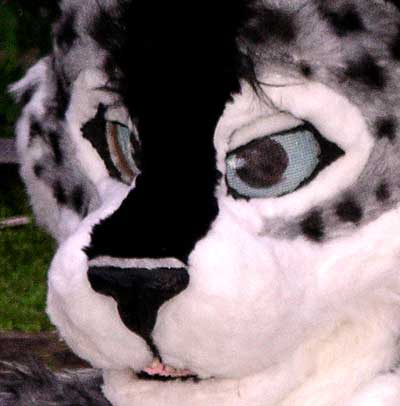
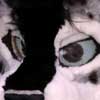
Close-up of the eyes with the black lines around it. The turqueoise part is the perforated material named Stramin (you can look through it).
The nose is like a rubber nose thanks to the latex :) |
|
[Next page]
|