|
|
|
|
|
|
 |
|
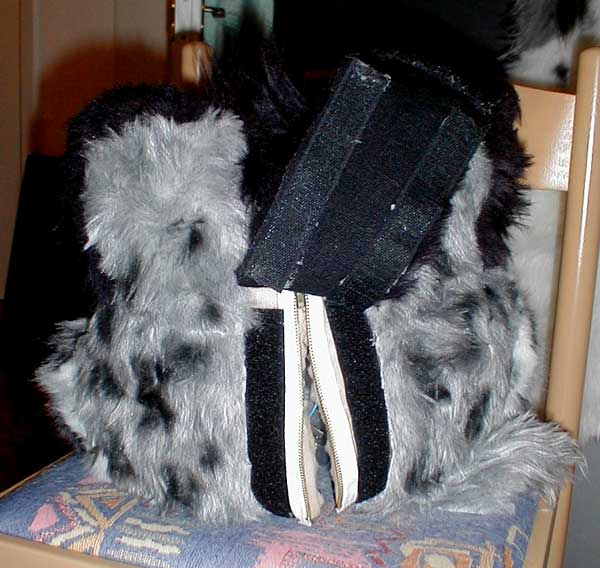
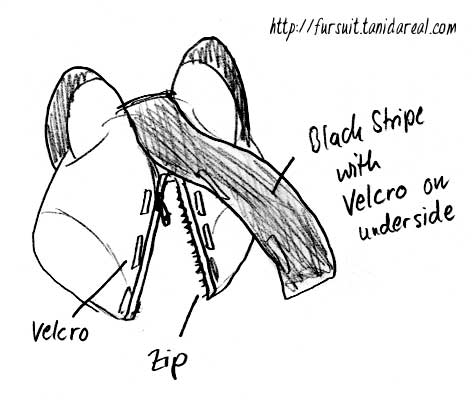
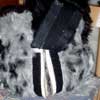
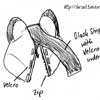
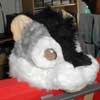
On the right side you can see the back side of the head. You can open and close it by a zip, while the black stripe of fur is attached with Velcro® (yes, the black stripe is very useful ;) ).
I took the photo too late - here the fur is already airbrushed. |
|
 |
|
 |
|
I cut out patterns of fur for the head. Of course it's the best thing if you have one piece of fur and don't have to glue several parts together (cause you will always see the joints). As you can see, the fur is still uncut (long fur). |
|
 |
|
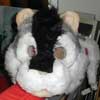
On this version, the white fur around the eyes was still too big. I had to correct the patterns several times until the white "face mask" looked good. This time I didn't use any eyebrows for the face. |
|
 |
|
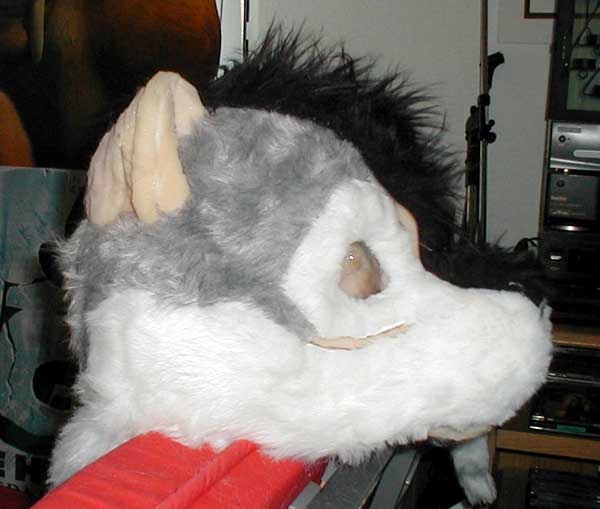
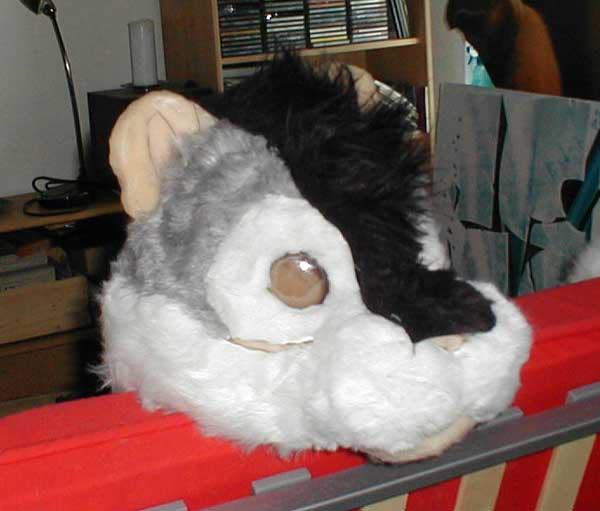
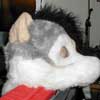
Here you can see the fluffy mane. When I was finished with glueing on the fur I started to trim the fur, especially on the muzzle where the fur is shorter. I did that with an electric razor for long hair. I prefur suits with a nice form (and trimmed fur, which makes it look more natural). |
|
 |
|
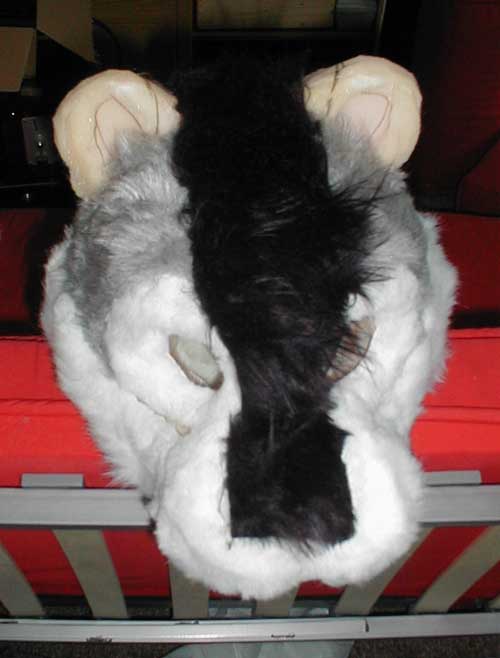
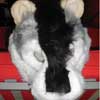
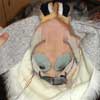
Here I've already attached the plastic hemispheres (eyes) to the head. The fur on the jaw and ears are still missing.
Later I attached the nose (foam painted with black latex milk), the teeth (FIMO) and tongue (foam painted with pink latex milk). Around the eyes I added a fine line of black latex. |
|
 |
|
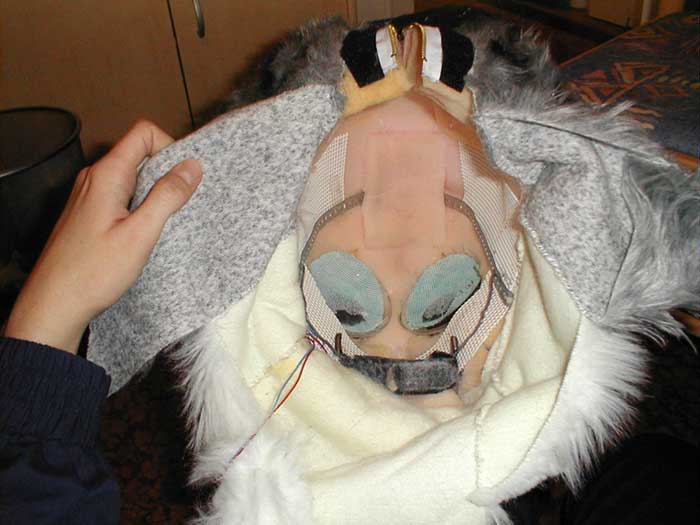
This is the inside of the head:
You can see the Stramin eyes (turqueoise), the cables, the wires, etc. The fan is right in front of my mouth (behind the mesh), in the fursuit muzzle. The battery is placed on the base of the tail.
The black thingie you can see on the photo is Velcro® which is closed under my chin, so that I can open the suit mouth. |
|
[Next page]
|