
I made the basic form by using strong mesh from the home depot (German: "Laubgitter"), which is usually used to keep out leafs from the gutter. It's half round and about 2m long and 30cm wide (beware of sharp edges when cutting!).
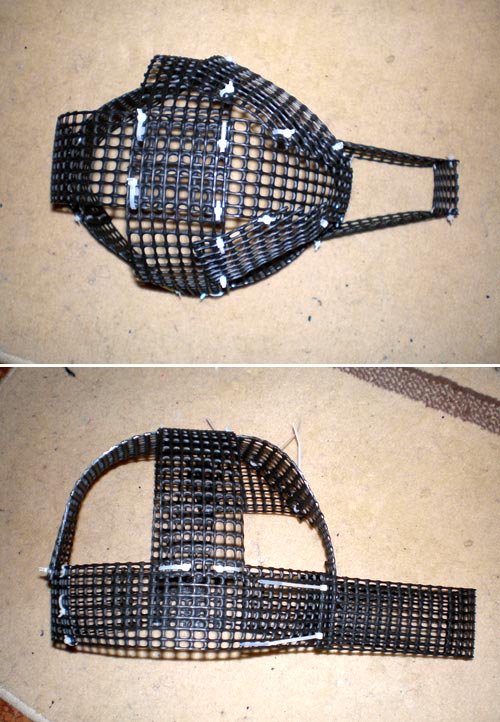
This basic model is not too heavy but pretty stable, and it comes in useful for attaching stuff, like ears, fan, etc.
The more, it's easier to make the head look symmetrical as you can just count the holes (perforations).
Again, everything's attached with hot glue.
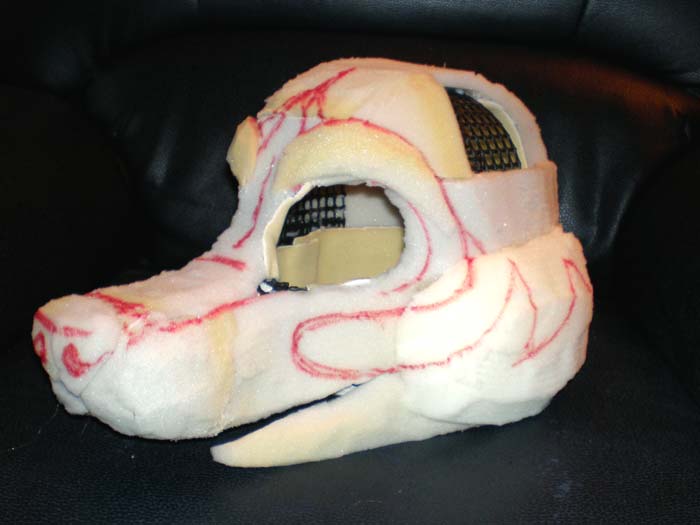
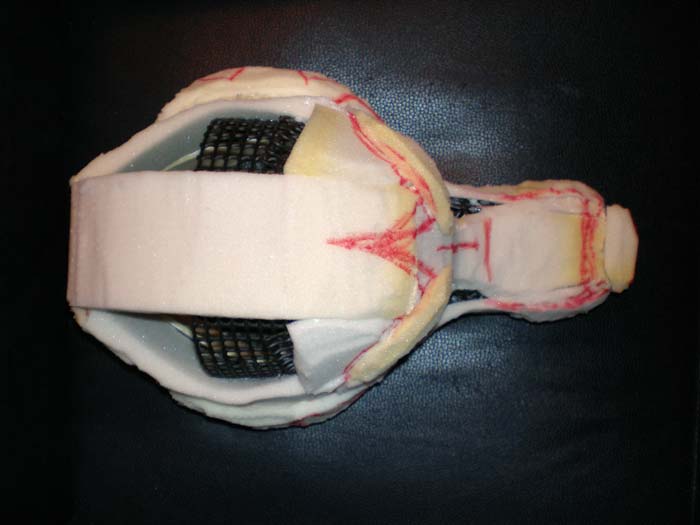
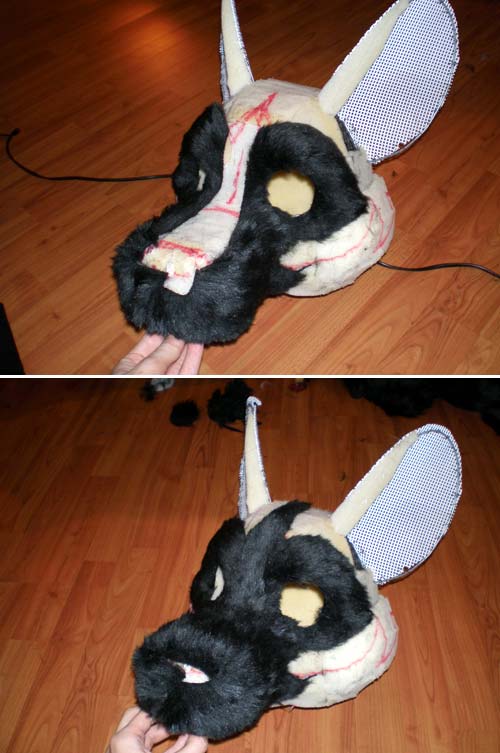
Then I already drew the lines of the pattern on the head (with a board marker / Edding).
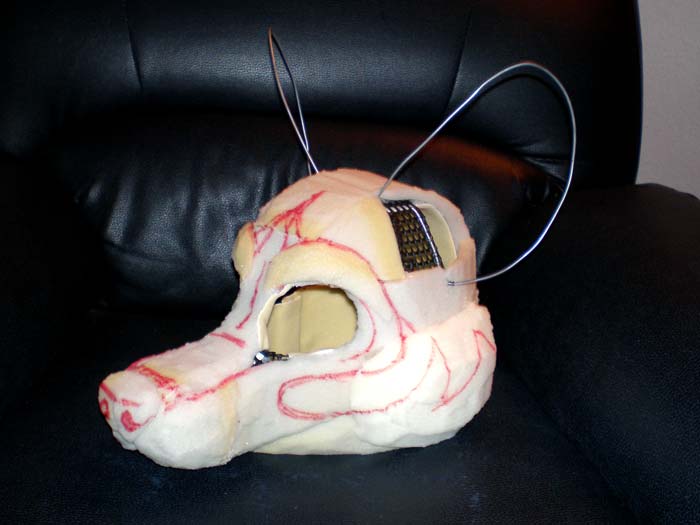
This way I could easily bend and form the ear wire until I found the final position that I liked.
Be careful that the sharp wire endings never point towards your head or face! Danger of injury.
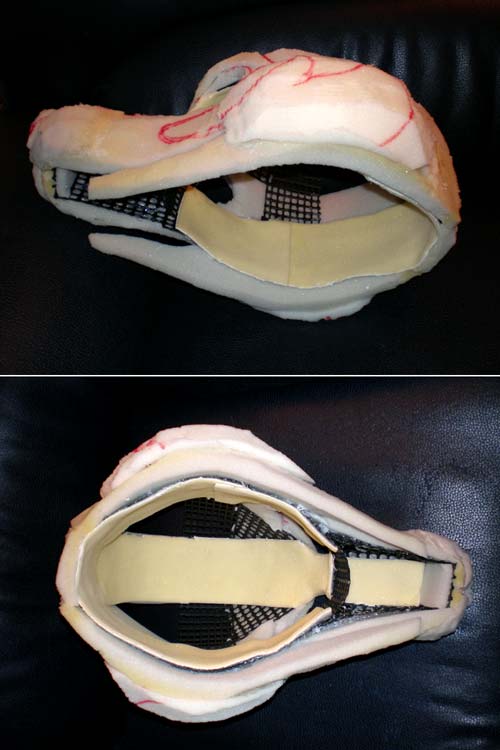
btw. the chin/jaw (on the photo) is not completed yet (it's just a little piece of foam). I still added more foam and the jaw wire (see next picture).
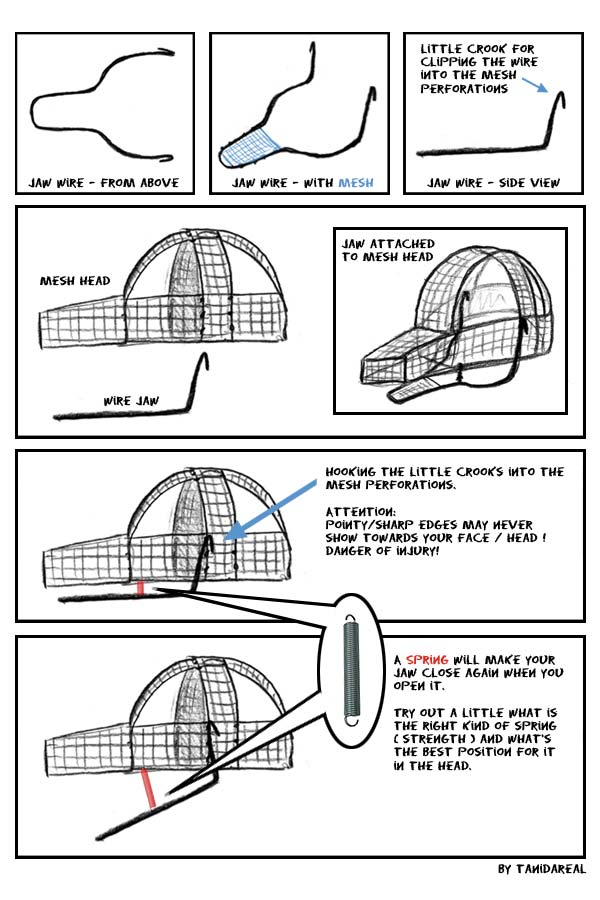
I added a little mesh piece between the wire to make it more stable (and as basis for the teeth), then I added the chin foam to it (hot glue).
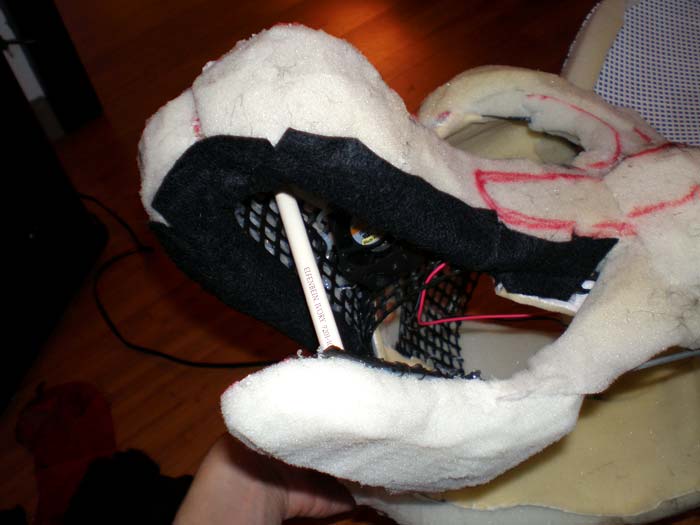
We installed the 12V PC fan in the muzzle (easily attached with cable ties to the black mesh). The fan will blow the air out of the mouth.
Before furring, I covered the lips with black felt, to make sure no foam will shine through later.
I used some thin (cheap) cloth for the pattern, because it's thin and flexible. I cut out the patterns (according to the patterns on the foam head), and when it was right - I transfered it to the final fur. Cut out the fur, attaching with hot glue.
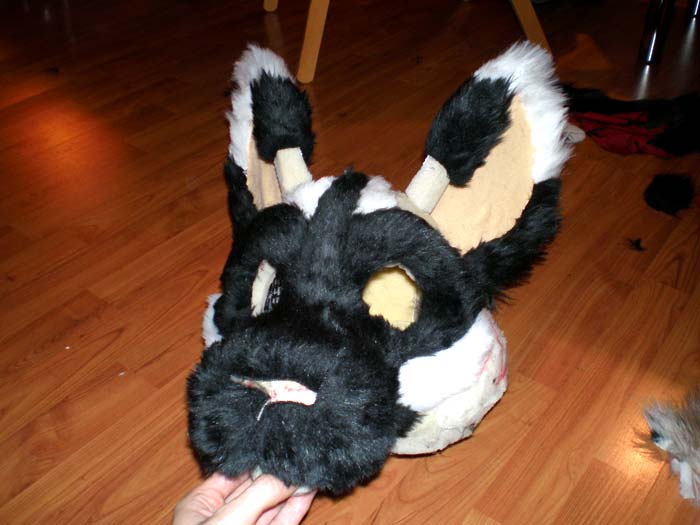
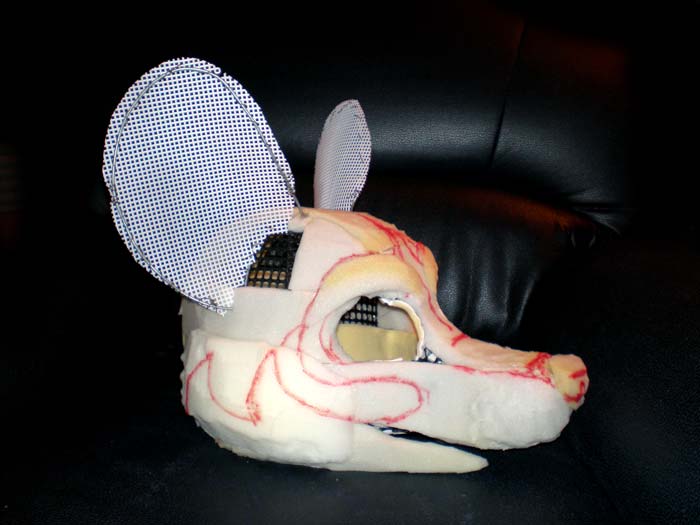
The pink inside of the ears are simply felt (same as for the black lips). Inside, I still added a stripe of long, white fur, to make it look more natural.

This time, I decided to attach the battery packs to the body (kidney belt) again, not to the head, because I wanted the head to be a little lighter than Savoy's.
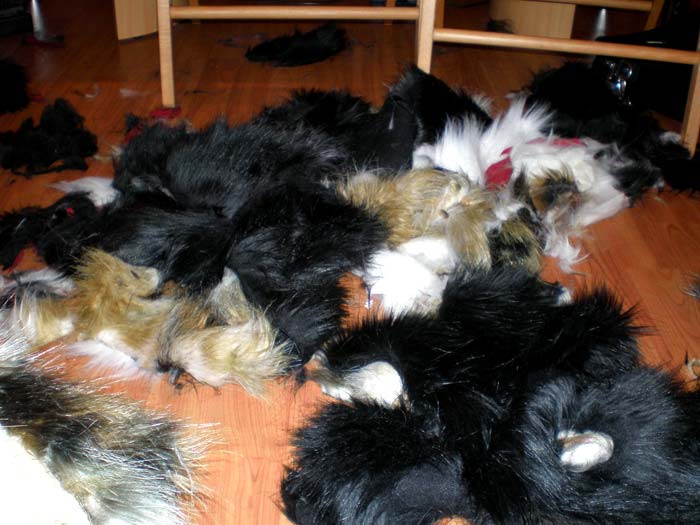
If you're still living at your parent's home and want to make a fursuit - here's the reason why you should maybe ask them first if it's OK, because it's always a damn MESS and you will still find pieces of fur in your underwear for weeks. =)

When the fur is finished, I add the teeth and eyes.
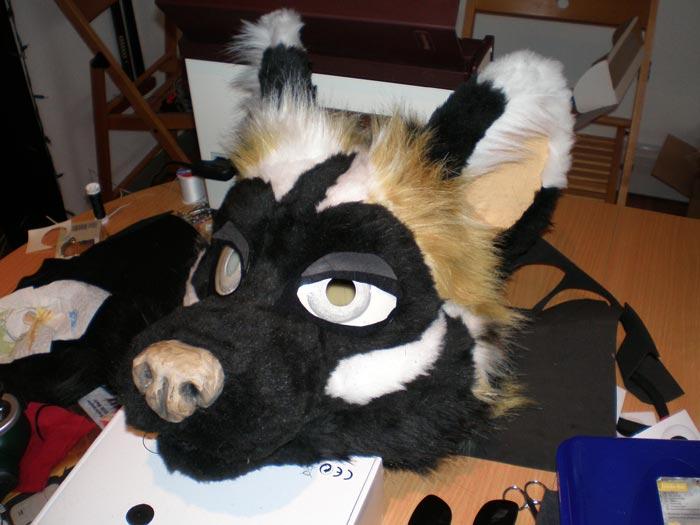
Now I attached the nose, teeth, and adjusted the first test version of the eyes (see section Details for more infos about these parts).
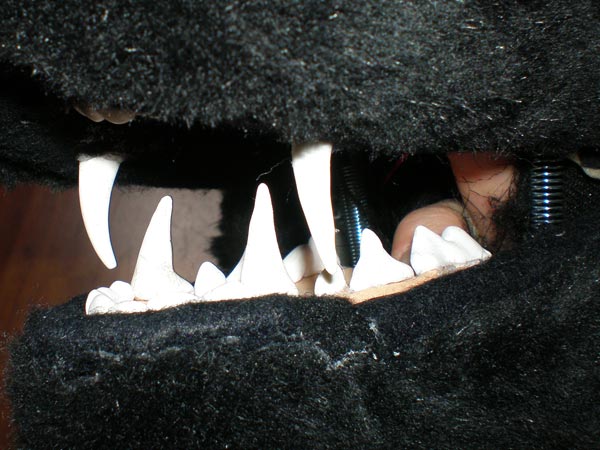
To avoid that your real face shines trough when you open the mouth - glue in a little piece of felt/foam rubber and/or wear a black balaclava.
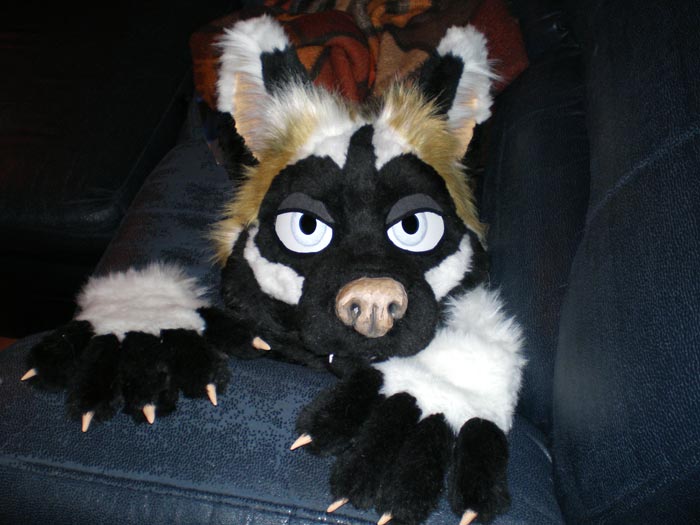
Daiquiri's eyes are very bright, almost white, but she's a vampire, remember? ;)
About 7-10 days of constant work by 1 person