|
|
|
 |
|
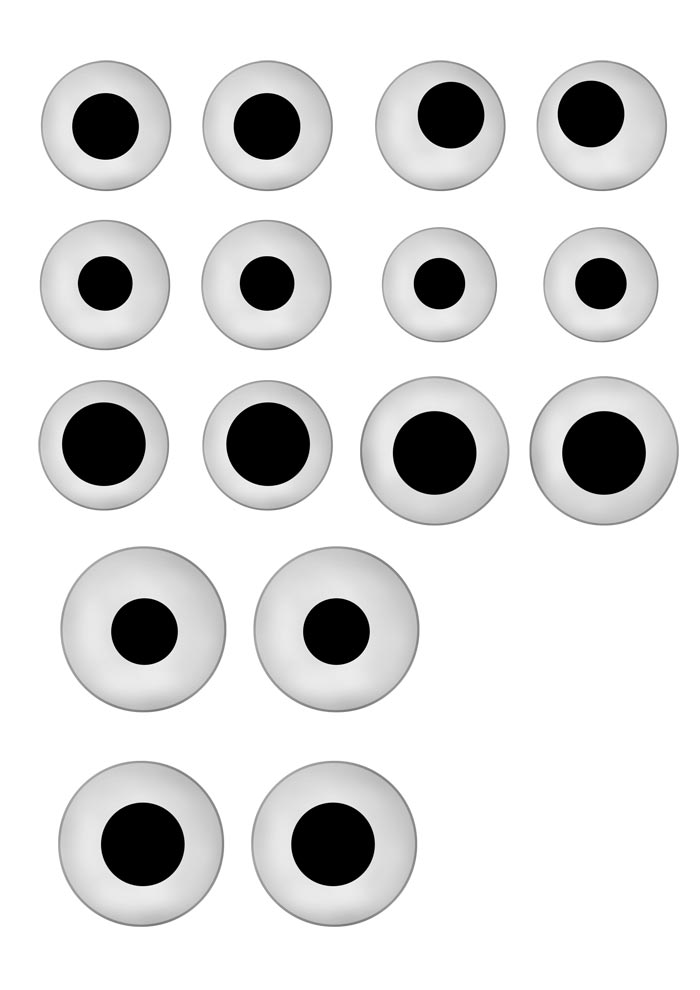
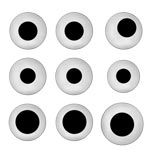
For the eyes, I printed out some samples in various sizes. These I cut out and used as test patterns, to see which size/form is the one that looks best.
Then you can use them as stencil to transfer the circle/iris to the plastic eye.
|
|
 |
|
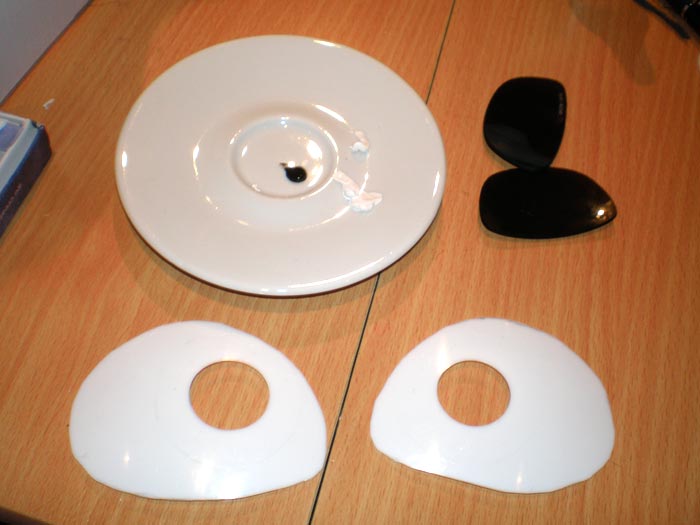
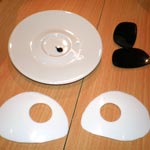
The white eye parts are cut out of a regular kitchen bowl. I put the white plastic parts into the suit's eye sockets (still without glue) and tested, which of the cut out iris-samples are the best.
The pupils are simply a pair of sunglasses. These will be glued behind the holes. You can also use black mesh for this.
|
|
 |
|
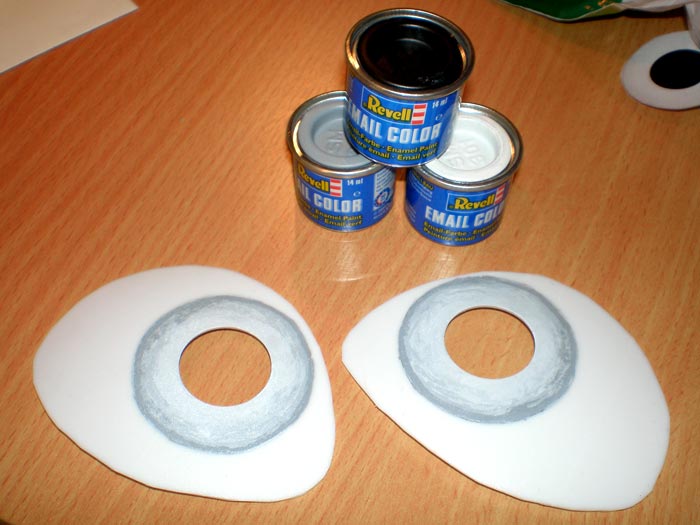
When I got the right eye position/size, we marked it, and cut out the holes (using a drill with a special cone-like attachment / "Kegelbohrer").
Then I painted the iris on it, with glossy paint (water insoluble). Let it dry properly, and we also covered it with transparent glossy varnish to make it more resistant.
|
|
 |
|
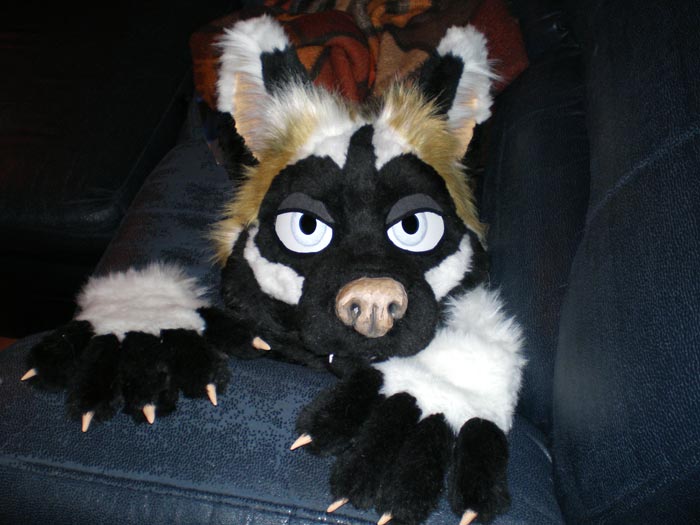
When it's all dry, I glued the sun glasses behind the holes, and glued the plastic eyes into the eye sockets.
Then, finally, I cut out a black frame for the eyes, made of felt. The eye lids are also made of felt. |
|
|
|
|
|
 |
|
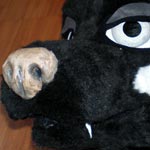
The nose I cut out of regular foam.
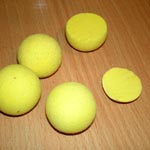
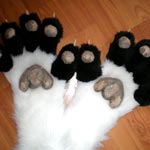
For the paw pads, I used rubbergum balls ("Moosgummibälle"). I simply cut off 2 slices on each side.
The only thing you could complain about is, that their basic form is round, not oval. But they're soft, yet solid and impervious to humidity.
|
|
 |
|
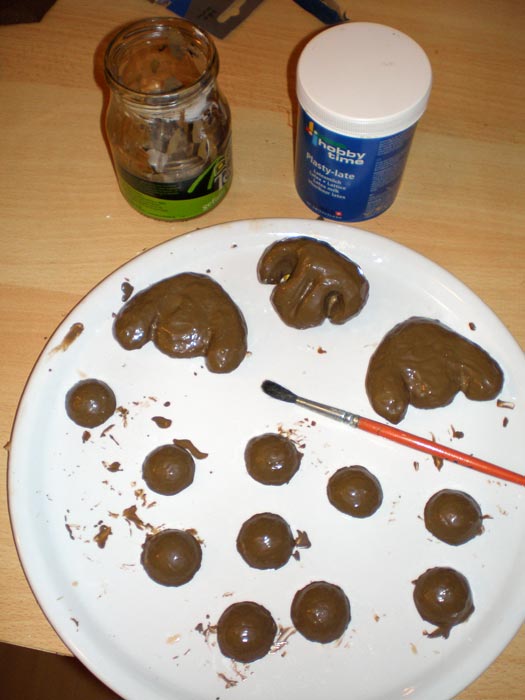
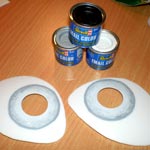
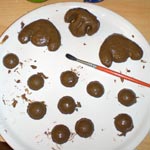
I took some acrylic colors and mixed them with latex milk for painting the foam and foam rubber nose and pads in several layers.
Pure latex milk becomes transparent when it's dry, so better first mix the color you want to have, then add the latex milk. If you mix the colors directly with the (white) latex milk, you will get a much darker color when it's dry.
|
|
 |
|
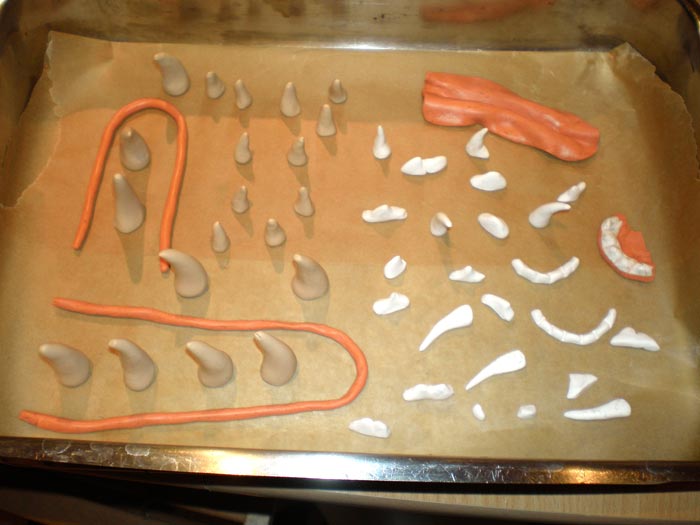
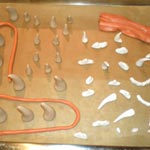
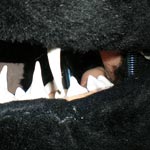
I made a set of various teeth and claws with FIMO clay and baked it in the oven to make the material become hard.
As I glued in the teeth as single parts (not as one complete denture), I made several teeth in various sizes. Also consider making some in reserve if you should lose one.
|
|
 |
|
Finally I glued the paw pads on the paws (you might need to shave these parts a little more before attaching the pads).
The claws are also attached with hot glue. They're not "usable" or dangerous like this, as they're pretty flexible on the soft paws.
|
|
 |
|
The spotty brown color on the pads and nose was intended to give it a little dirty and more natural look.
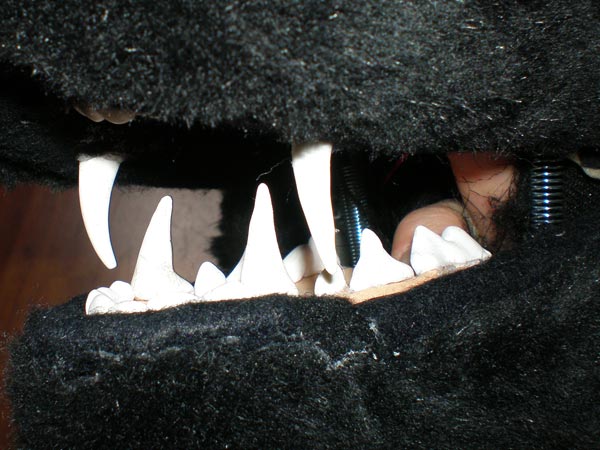
For the visible fangs, I cut out a part of the black lips on each side (otherwise you wouldn't be able to close the mouth again properly).
|
|
 |
|
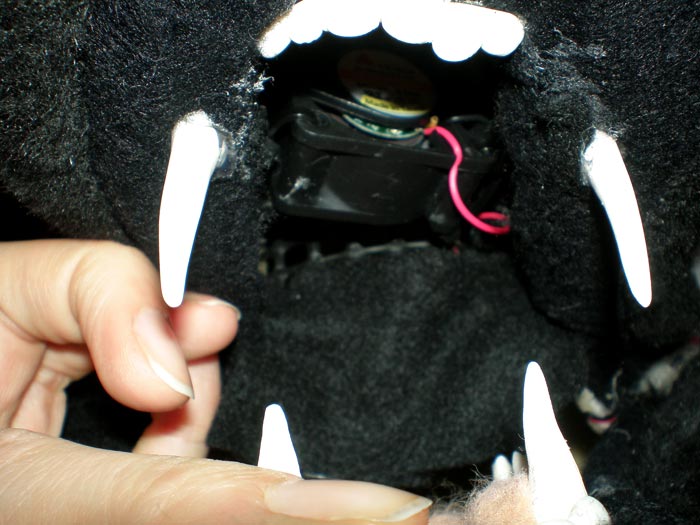
The teeth are also glued in with hot glue. They're located in a way that the upper fangs will be visible when the mouth is closed (see picture above).
The black lips are a string of FIMO covered with black felt. The silver springs still need to get painted black. |
|