|
|
|
 |
|
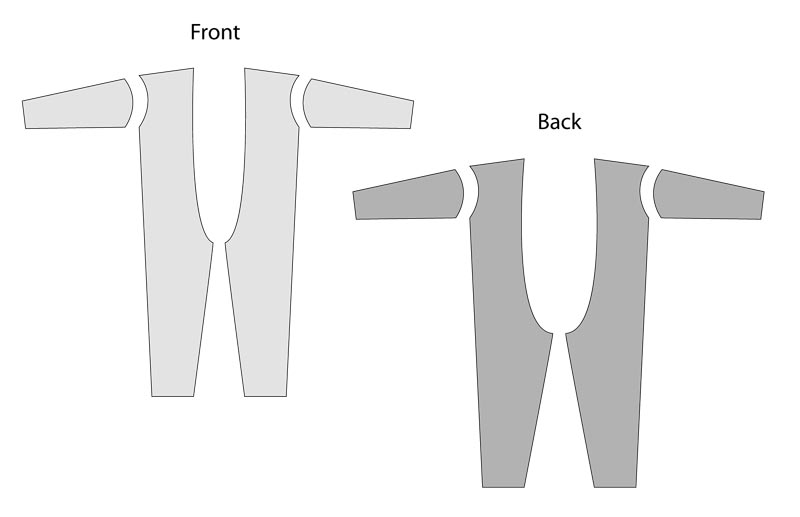
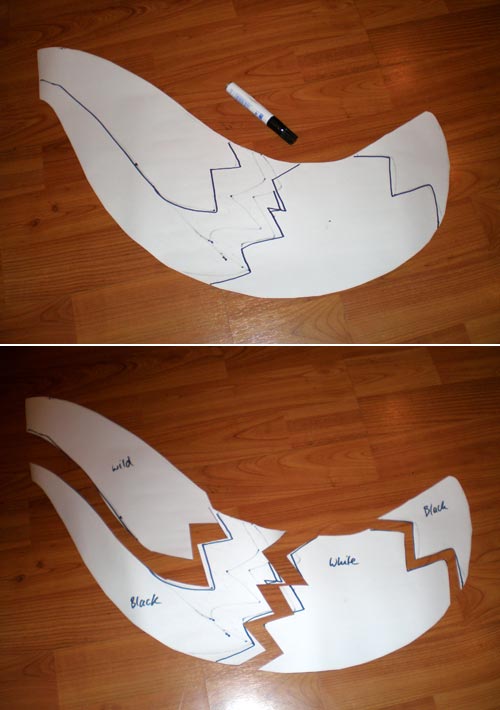
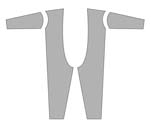
As always, we start with the pattern. I still had my basic pattern we created for Savoy. I used this one for Daiquiri again, but we adjusted it later to make it a little tighter.
The basic pattern looked like this (click the thumbnail for full view).
|
|
 |
|
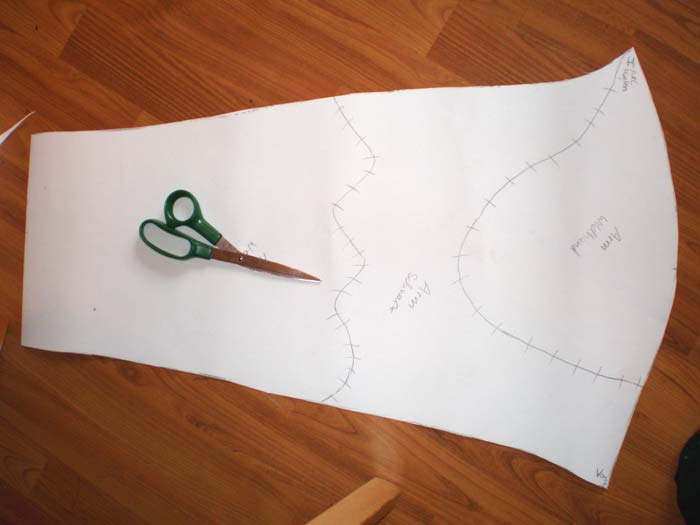
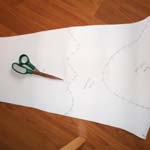
- Take the basic paper pattern
- Transfer the pattern to cheap cloth
- Cut out the cloth pattern and sew test suit
- Adjust the test suit till it fits
- Copy the final cloth pattern to paper (you only need 1 side, as you can simply copy the symmetric body sides)
- Consider making 2 of the final paper patterns - one as backup (for the next time), and one for cutting the pattern pieces
|
|
 |
|
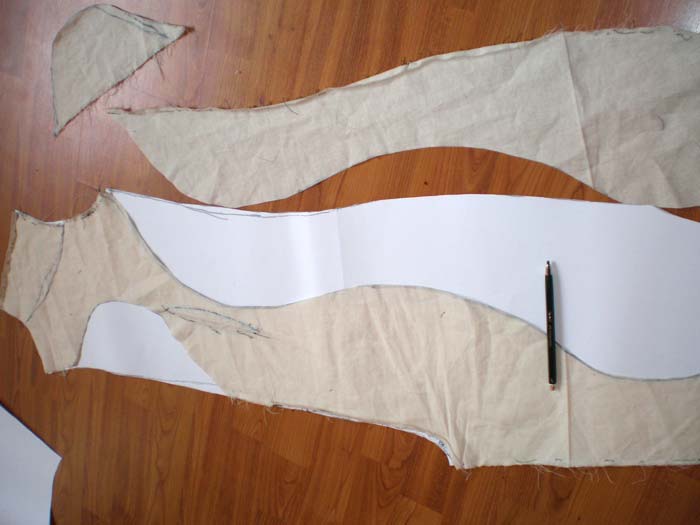
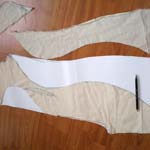
- Draw the pattern lines directly on your test suit with Edding / board marker (either wearing it or put it on the floor)
- Unsew & cut out the cloth pattern pieces
- Transfer/Copy the single cloth parts to your paper pattern (with a pencil)
- Don't forget to add an additional 1-2 cm edge for sewing! (German: Nahtzugabe)
- Cut out paper final pattern pieces
|
|
 |
|
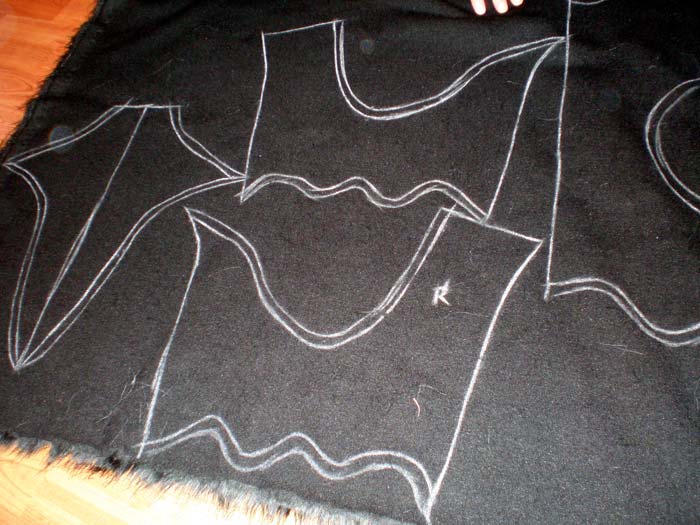
Why all the copy work with paper and stuff? Because paper is just more solid and doesn't crinkle like the cloth pattern pieces. And it's nice to have a good fitting backup pattern for the next time. :)
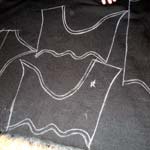
Now you can pretty easily transfer the paper pattern to your fur. I used white chalk for the lines. See the additional edges for sewing?
|
|
 |
|
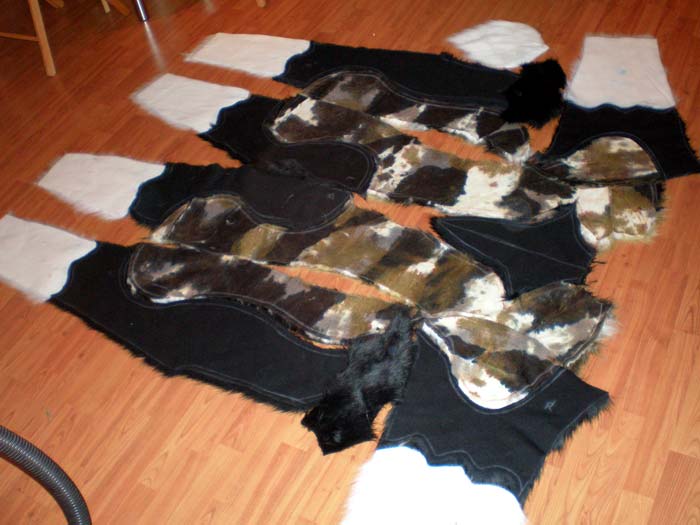
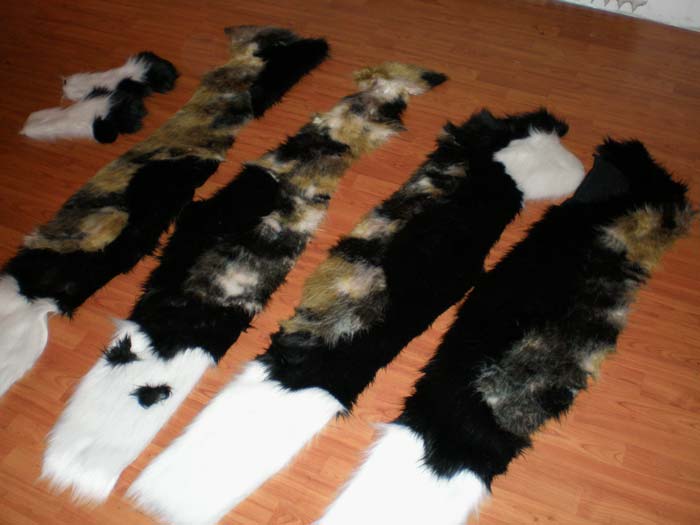
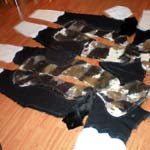
Cutting out all the single pieces of fur is probably one of the most exhausting, painful steps. Daiquiri's body consists of 20 pattern pieces.
Good scissors may not be cheap, but it is absolutely worth it. Electric scissors from the home depot also work pretty fine for cutting bigger parts.
|
|
 |
|
Do not forget to write down the name of the parts on the single pieces (e.g. left arm) - otherwise you might quickly get confused. Also pay attention to the direction of the fur.
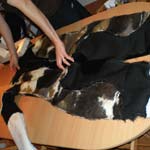
Now you can start sewing the single parts together. Small pattern parts we sewed by hand, bigger parts by using the sewing machine.
|
|
 |
|
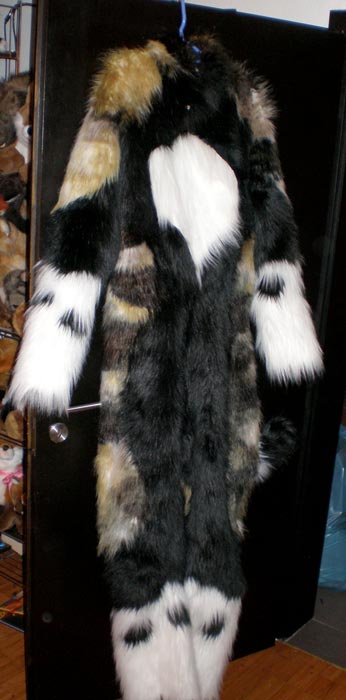
Daiquiri has a zipper on the front side (chest/belly). As the fur is bi-colored there (black and white), we hid the black zipper underneath the white chest. The white chest part is open on one side and can be closed with buttons.
We still stitched down some parts (under breasts, legs, on back) to give the suit a tighter form.
|
|
 |
|
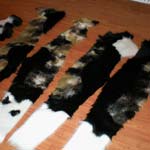
I still added some black spots on the white legs and arms, which of course had to be cut out and sewn in by hand.
We still added neck parts to make body and head fit together better (without parts of your neck shining through).
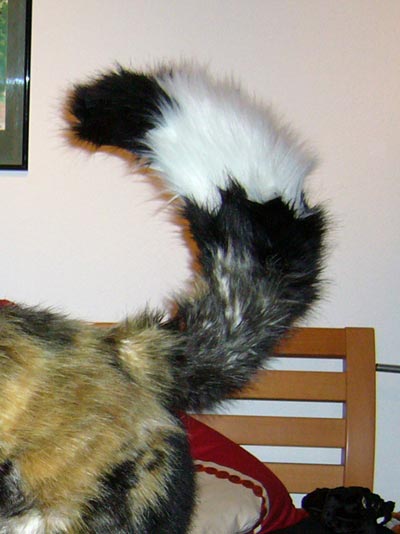
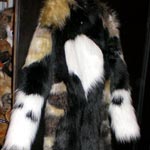
So here we have our final body. :)
|
|
|
|
|
|
 |
|
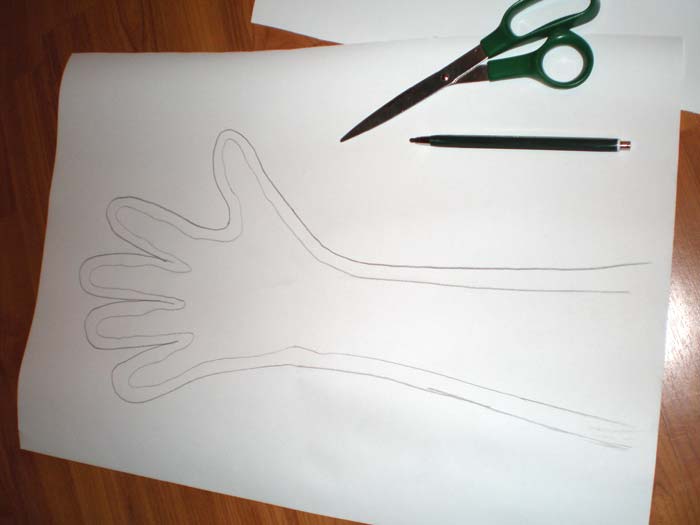
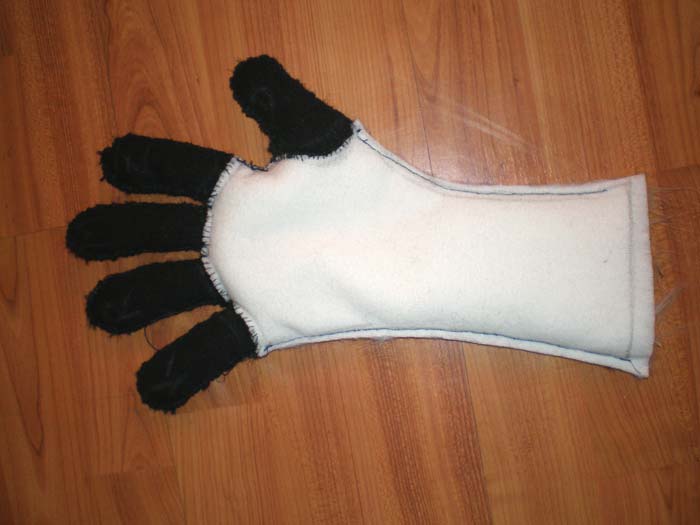
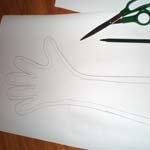
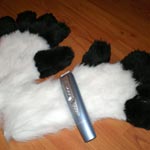
Now for the paws (hands), which of course also have to be sewn. I sewed them all by hand.
Make a copy of your hands to paper. Don't forget to add 1-2 cm again for the sewing. Otherwise it will be too tight.
|
|
 |
|
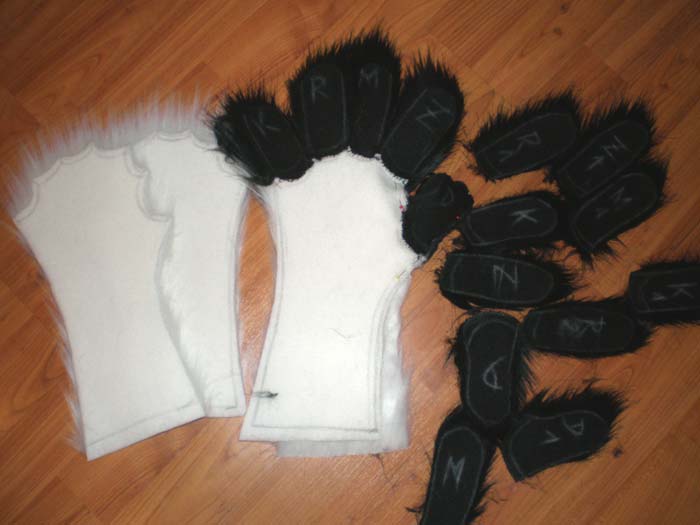
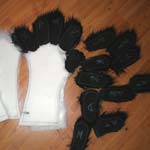
Cut out the paper pattern, mark the single parts (which fingers), transfer the pattern to your fur. Cut out the fur (don't forget to mark them again).
If you want, you can also attach paw pads by sewing (using leather or cloth pads) now. I prefer glueing them afterwards because it's less work.
|
|
 |
|
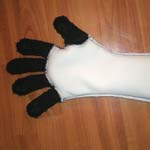
Sew the single parts together. When you're done, you have to turn the gloves inside out, which can be quite tricky depending on how tight your paws are and how thick the fur is.
|
|
 |
|
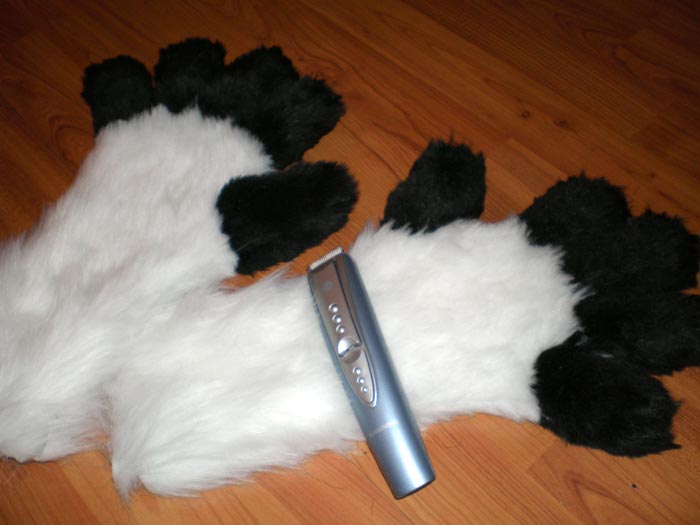
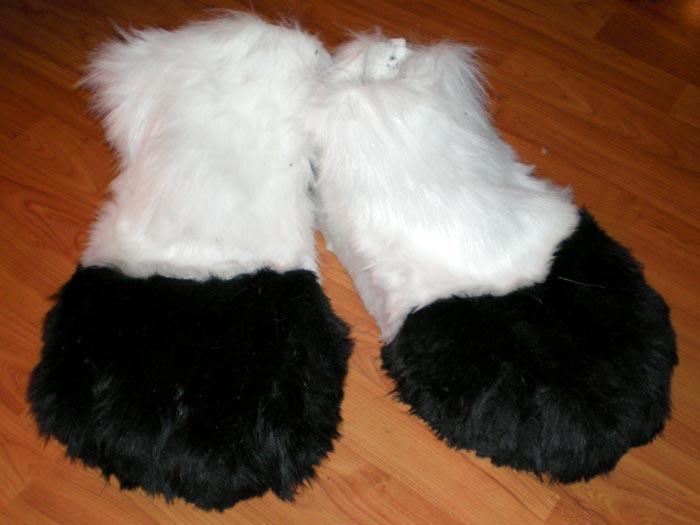
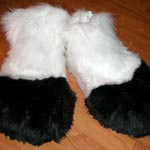
Now you just have to trim the fur a little (unless you want big foot paws) and add paw pads and claws if you wish (see section Details for more infos).
|
|
 |
|
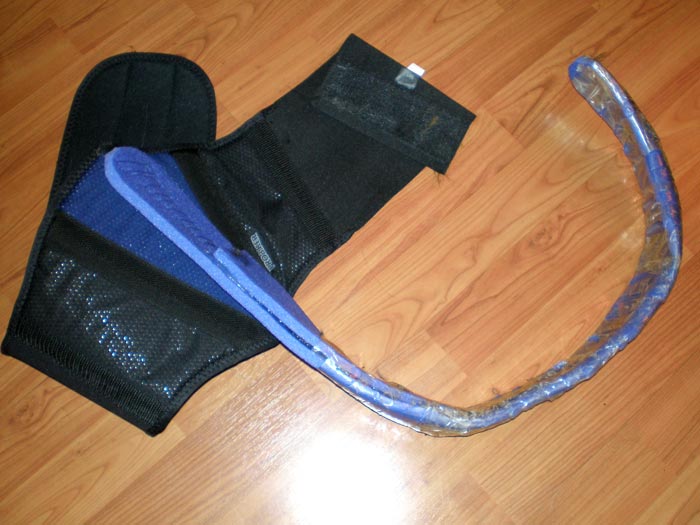
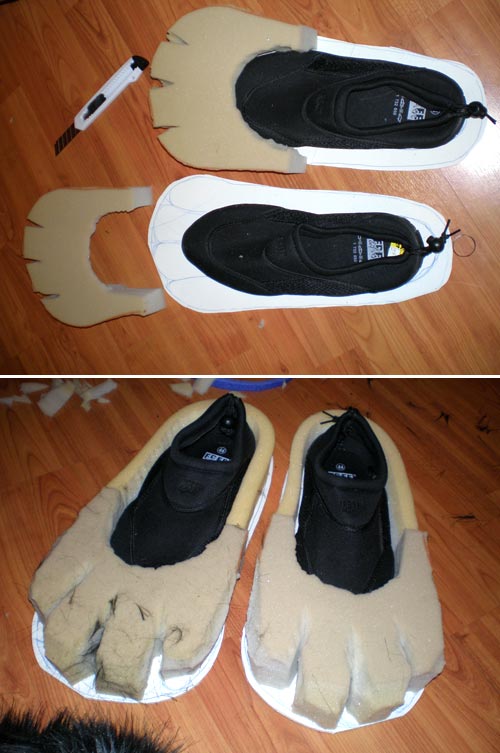
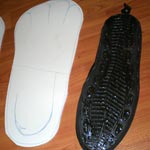
Now for the back paws (shoes), the part I hate most. ;P I decided to make outdoor paws with a real sole, without fur underneath.
I cut out two parts of a shoe sole and glued some shoes on it. You should use a good glue for rubber material you get at shoe store's (there you also get the uncut sole plates).
|
|
 |
|
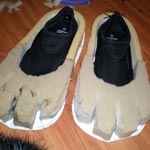
Now I cut out the toes, made of foam. I used both the electric bread knife and a simple cutter. Then I glued the foam on the sole (hot glue).
Pay attention to the size of your paws! Don't make them too big or flat, as they might feel like swimfins then.
|
|
 |
|
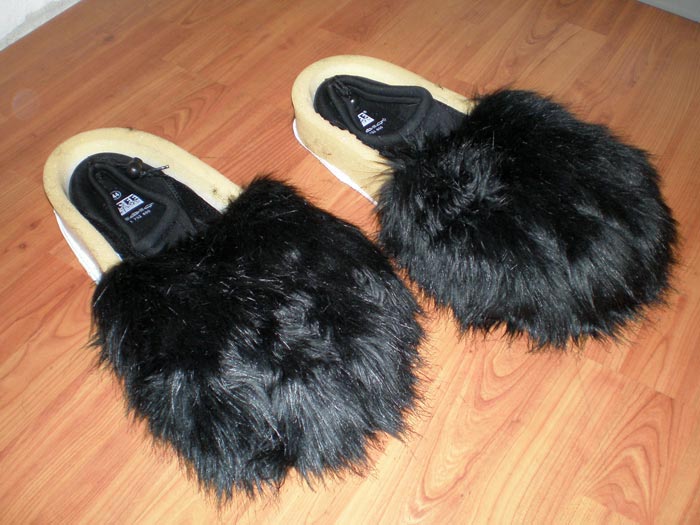
Then I cut out a big part of the black fur, made a cut between each toe and glued the fur pattern to the toes (hot glue).
Later I trimmed the fur on the toes a little and added claws made of FIMO (see section Details for more infos).
|
|
 |
|
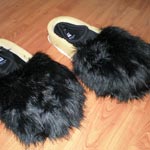
Then adding the white parts (mix of glueing and sewing). Then trimming the fur (about same length as the front paws / hands), and adding the FIMO claws (hot glue).
|
|
Time taken for the body (+ paws and tail):
About 10-15 days of constant work by 2 people |